How to Draw a Centaur Step by Step Easy Centaur Greek Mythology
There are many incredible beasts and monsters throughout the many mythologies and stories from cultures around the world. Some of the most incredible of these come from Greek mythology.
One of the most well-known of these creatures is the centaur. This half-man, half-horse creature was featured in many stories from mythology, and they remain popular in fantasy stories to this day.
The many admirers of this creature like to learn how to draw a centaur, but they may not know where to start!
That's what this tutorial is here to help you with, however.
Our step-by-step guide on how to draw a centaur in just 6 steps will show you how you can easily recreate this incredible mythological beast.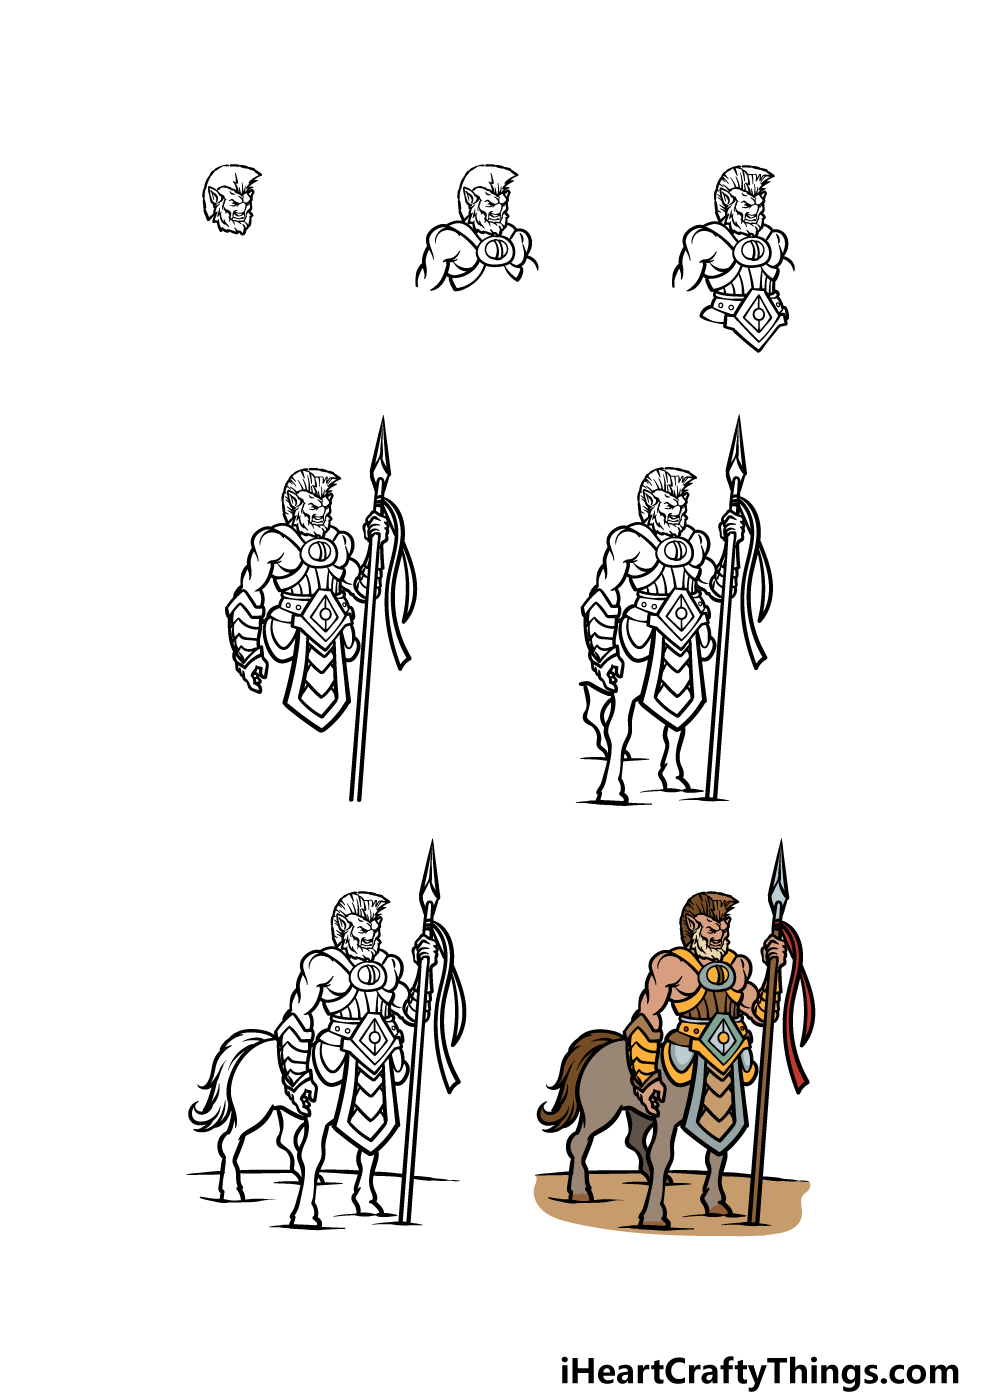
What's in this Blog Post
- How to Draw A Centaur – Let's Get Started!
- Step 1
- Step 2 – Draw his shoulders and chest
- Step 3 – Add some hair details and more of his armor
- Step 4 – Now draw his arms and more of his belt
- Step 5 – Draw the front legs of the centaur
- Step 6 – Now, add the final elements of the centaur
- Step 7 – Finish off your centaur drawing with some color
- Your Centaur Drawing is Complete!
How to Draw A Centaur – Let's Get Started!
Step 1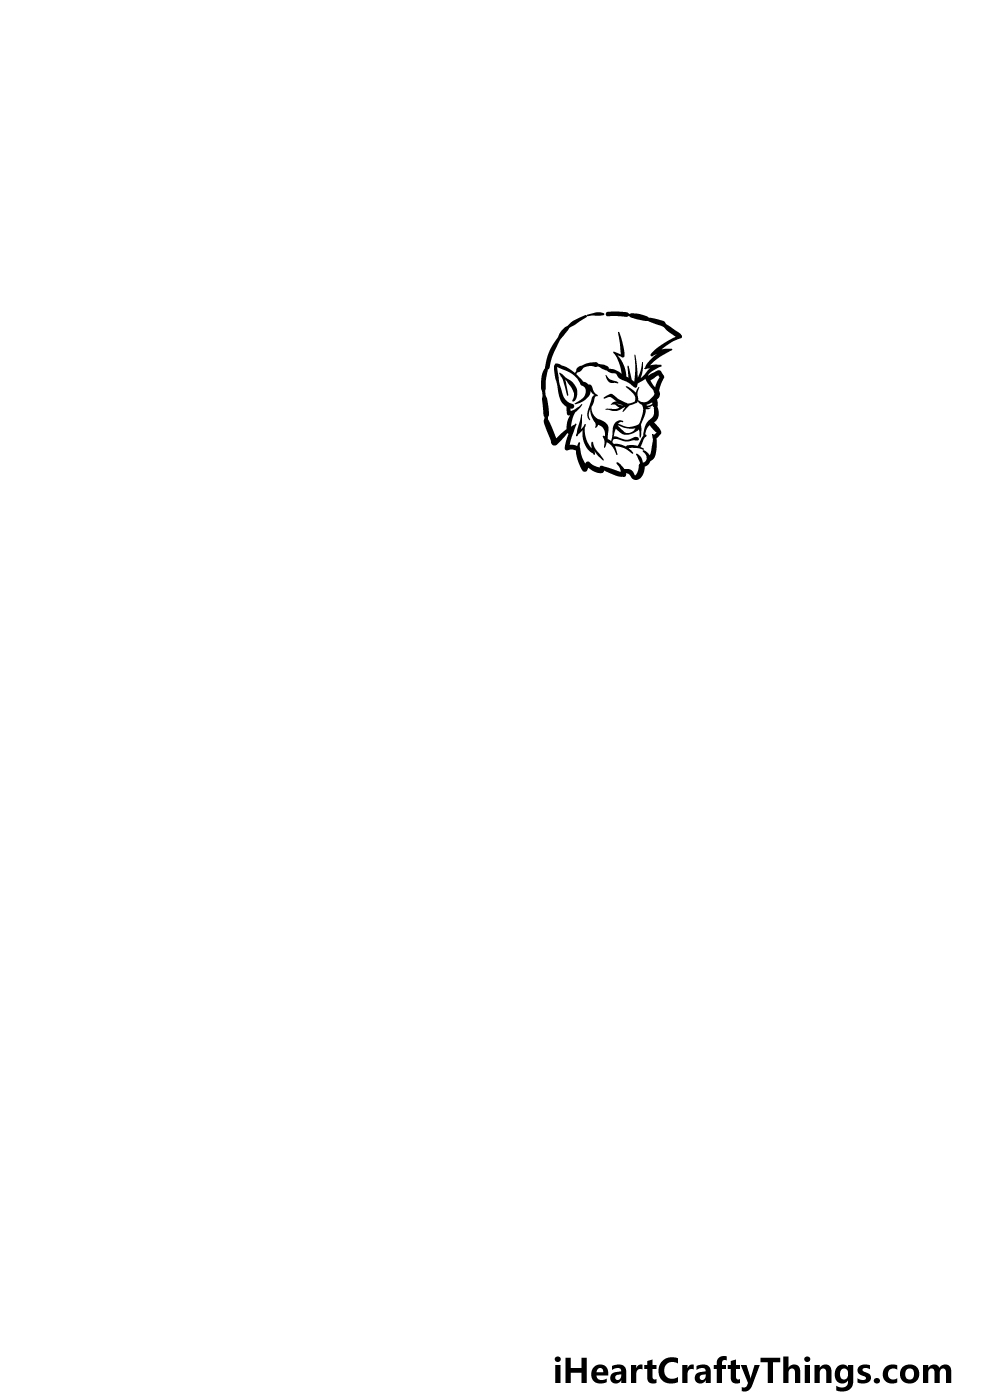
In this first step of our guide on how to draw a centaur, we will begin with the human head of the creature.
For his face, we shall be using some curved lines for his eyes, nose and mouth to give him an intense expression that shows he means business!
We will also be giving him a bushy beard, and then you can also give him a bristly mohawk hairstyle on the center of the top of his head.
Finish off by drawing his pointy ears, and then we can move on to the second step of the guide.
Step 2 – Draw his shoulders and chest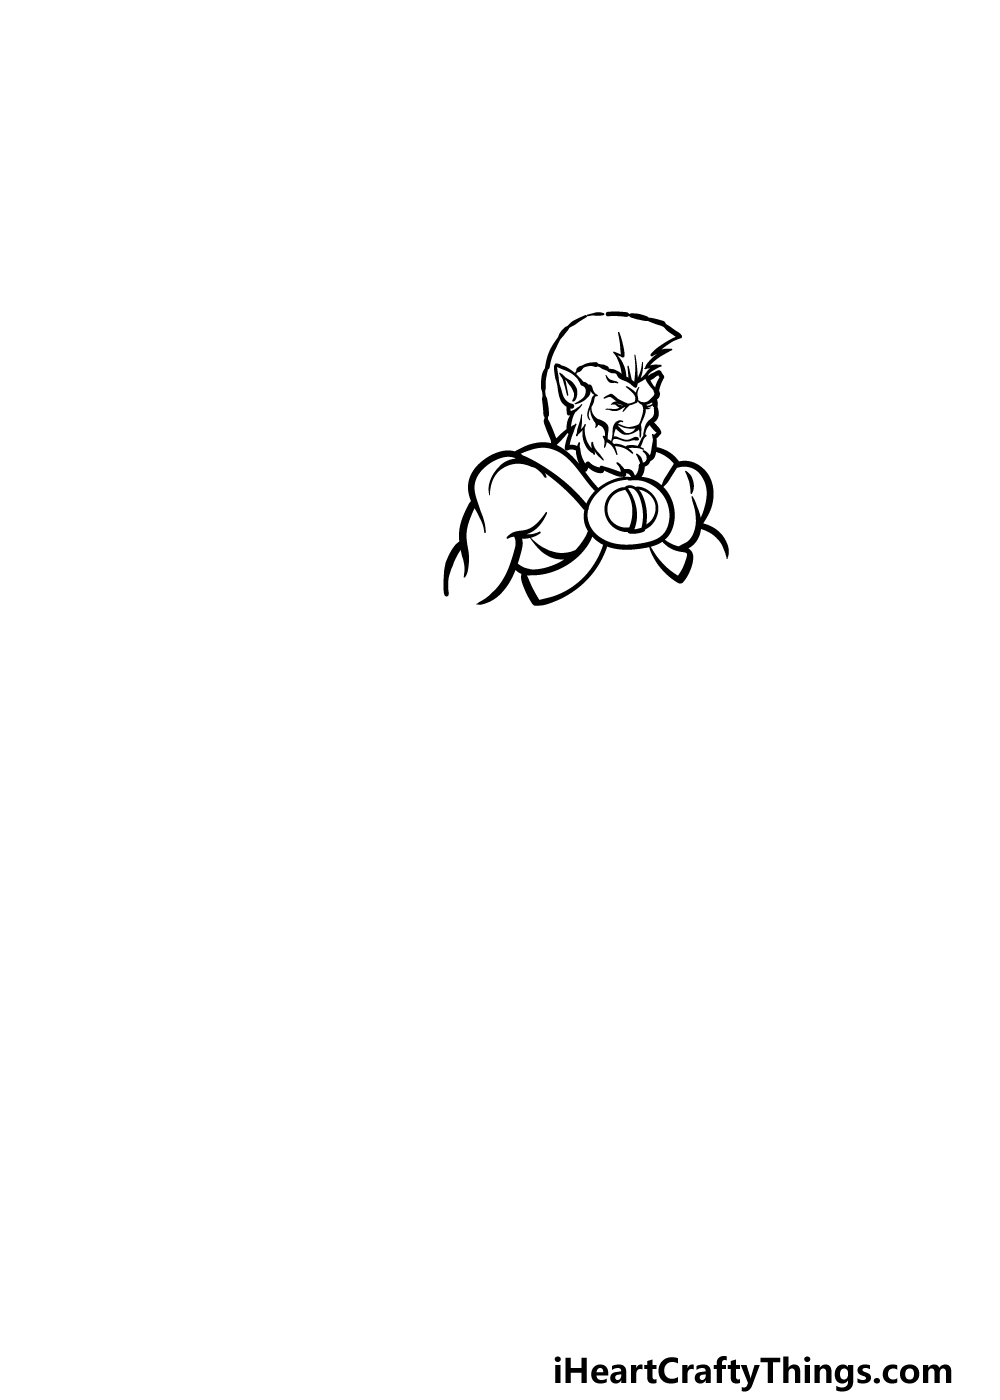
For the second part of this centaur drawing, we will be adding his shoulders and chest along with some of the armor he's wearing on his chest.
You can start off this armor by drawing a circle onto his chest and then adding some details onto it.
Then, draw four straps coming off of it. Two will go over his shoulders and two will go around the side of his chest.
Finish off this step by using more curved lines for his shoulders and chest details, and then we can proceed to the next step!
Step 3 – Add some hair details and more of his armor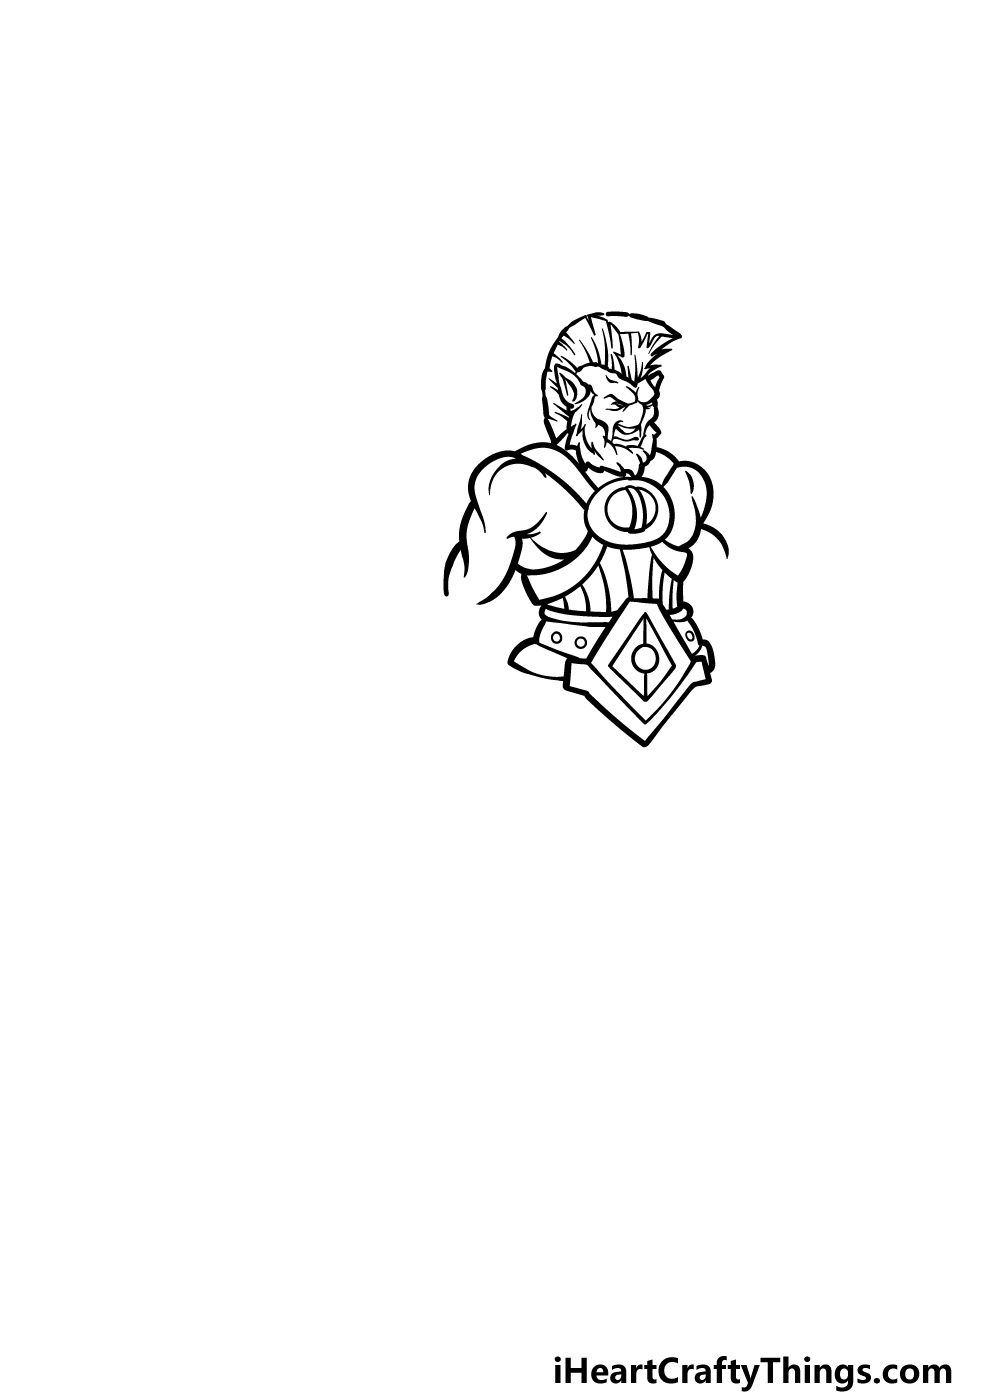
This third step of our guide on how to draw a centaur will start off with some details on his hair.
Simply draw some slightly curved lines for the sides of the hairstyle to add some texture details to it.
Then, we will be drawing a large, triangular shape for the base of his armor, and you can then add some details to the interior of this shape.
Then, you can draw the sides of his belt and add some circles to it for some large studs. Finish off by drawing some line details on the waist of his armor to close off this third step.
Step 4 – Now draw his arms and more of his belt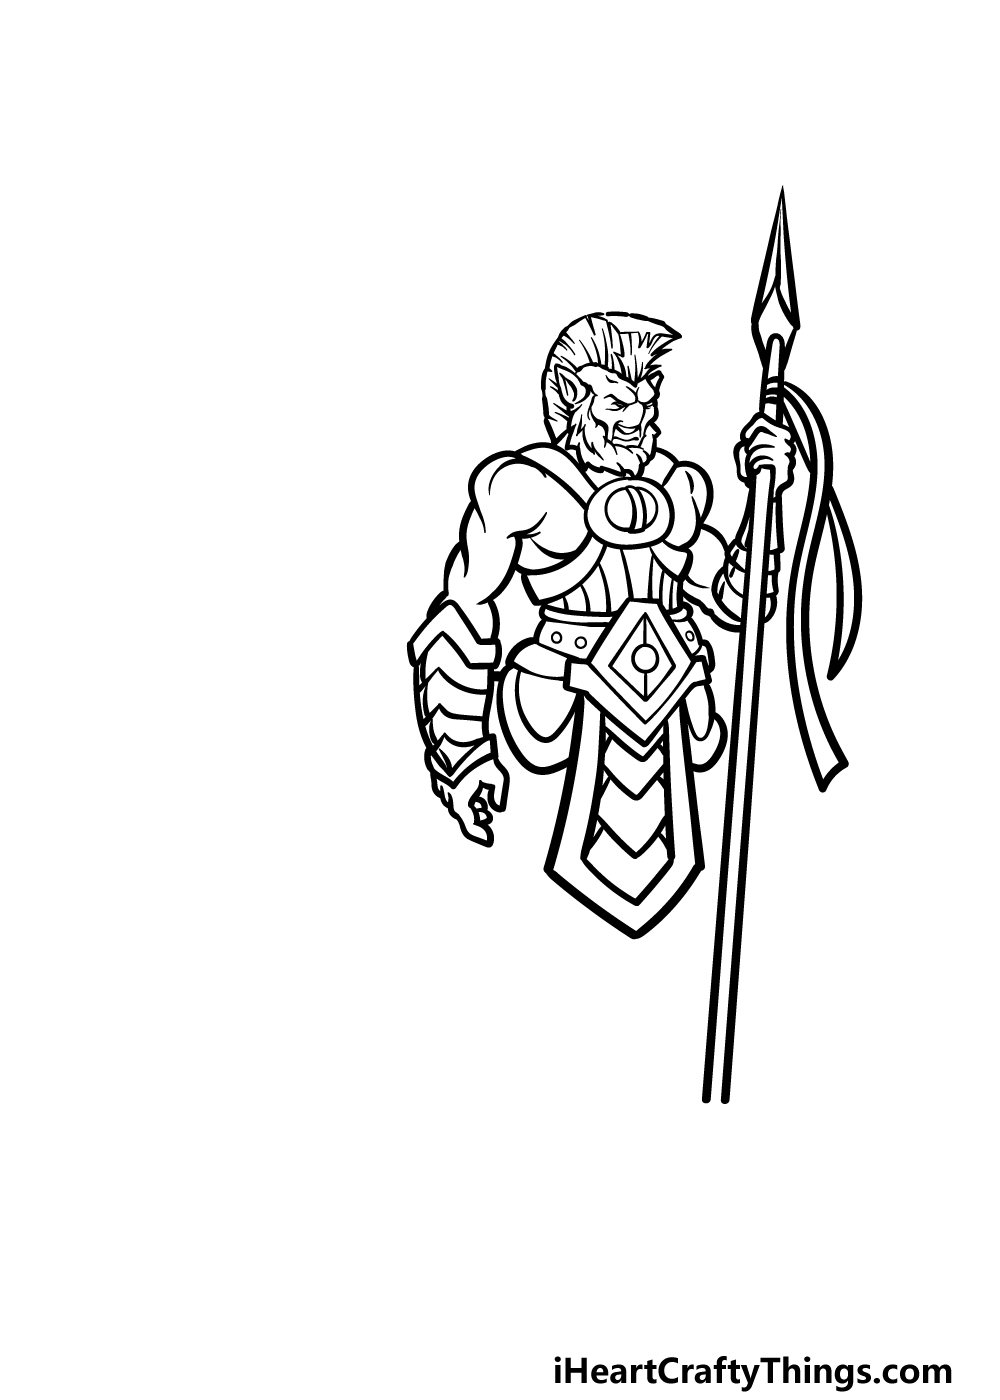
We will be finishing off the human portion of this centaur drawing in this next step.
First, we will be using some more curved lines for more of his muscular arms, and then we shall add some jagged lines for the bracers he has over his wrists.
His arm on the right will be holding a long spear, and you may want to use a ruler for that! We will also be drawing some more sections dropping down from the belt before we proceed to step 5.
Step 5 – Draw the front legs of the centaur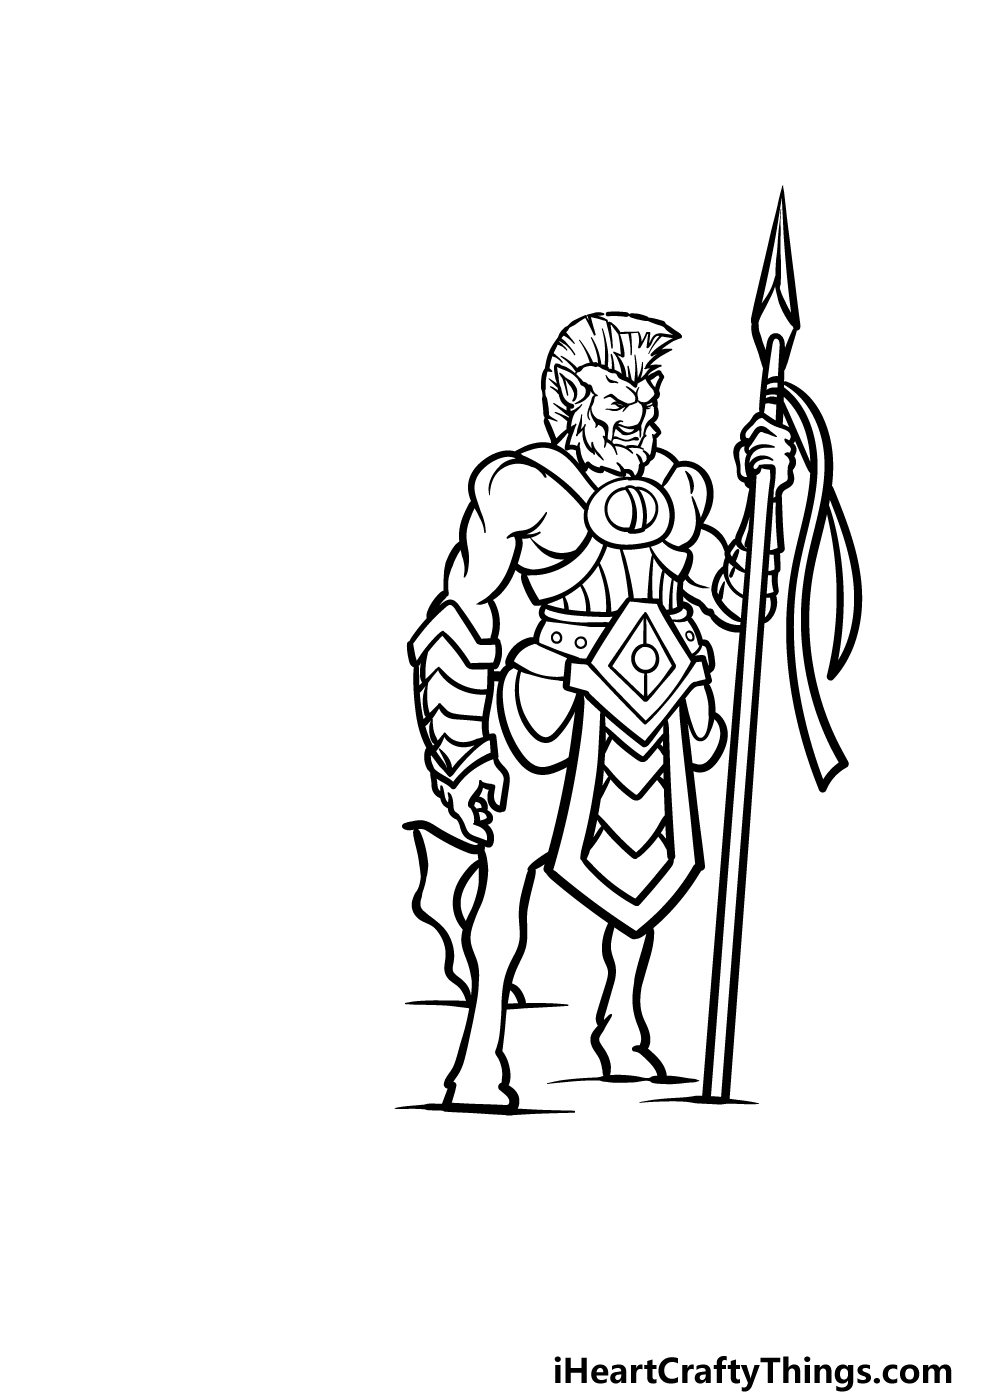
As mentioned in the previous part of this guide on how to draw a centaur, we are done with the human aspects of the creature now.
For this part, we will be focusing on the front legs of the centaur. These will look like horse legs, and you can draw them using some slightly curved lines.
Try to copy them exactly as they appear in the reference image to make sure that they look a bit more realistic.
Once these front legs are drawn, we will add the final details in the next part!
Step 6 – Now, add the final elements of the centaur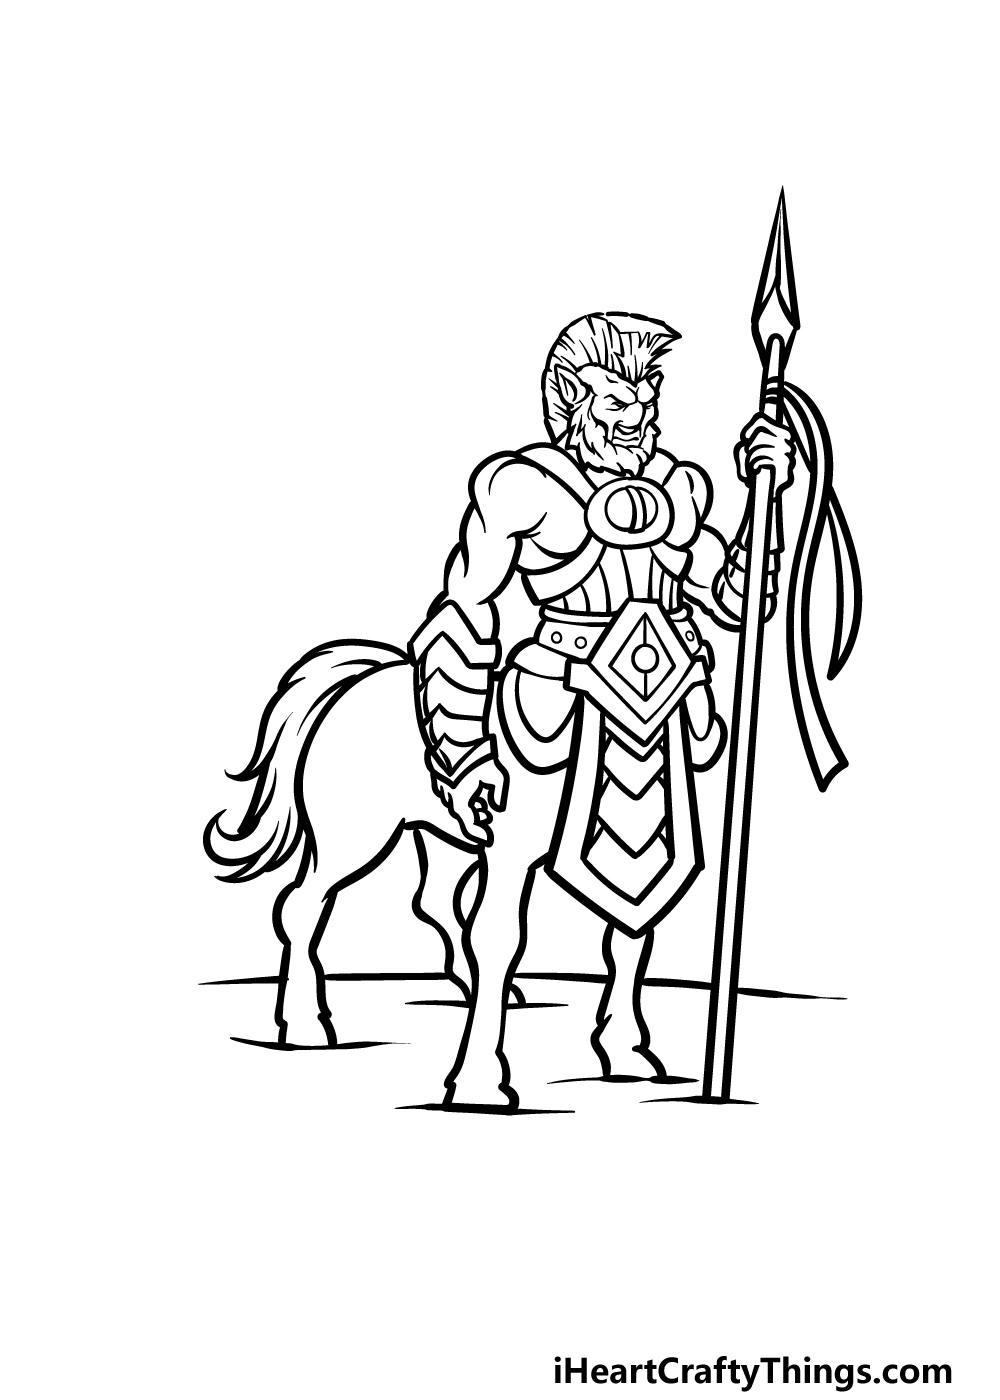
Before you color your centaur drawing in, we shall first add some final details and elements to finish it off. You can draw the back of the horse section and add a wavy tail at the back as well.
Then, finish off by drawing the back leg of the horse section as well.
This leg will look a bit different from the front legs, so once again you may want to try and closely copy it as it appears in the reference image.
Then, you're ready for the final step of the guide! Before you move on, be sure to add any extra details of your own that you may like.
Drawing a background is a great way to take a drawing to the next level! What kind of setting would you choose for this awesome centaur to be in? We can't wait to see!
Step 7 – Finish off your centaur drawing with some color
This final step of our guide on how to draw a centaur will be all about finishing it off with some color.
We kept most of the colors quite muted in our reference image, with the main exception being on the armor where we used some bright yellows.
The colors we used in our example are just an example of the colors you could go for, however! For this step, you can really express your creativity with the colors you use.
More fun can also be had when you experiment with some new art mediums and tools, so let your creativity flow and see what happens!
Your Centaur Drawing is Complete!
There were some tricky aspects in this guide on how to draw a centaur, so we hope that the steps we laid out for you made it easy and fun for you to take on!
Even when a drawing is quite tricky, it can be made much easier when you break it down and follow the steps.
Now you can take it even further with your own ideas, details and additions!
Then, you can find your next drawing challenge on our website. We have tons of amazing guides to enjoy there with more on the way soon!
You can also share your finished centaur drawing on our Facebook and Pinterest pages for us to see. We would really love to see how your incredible drawing came out!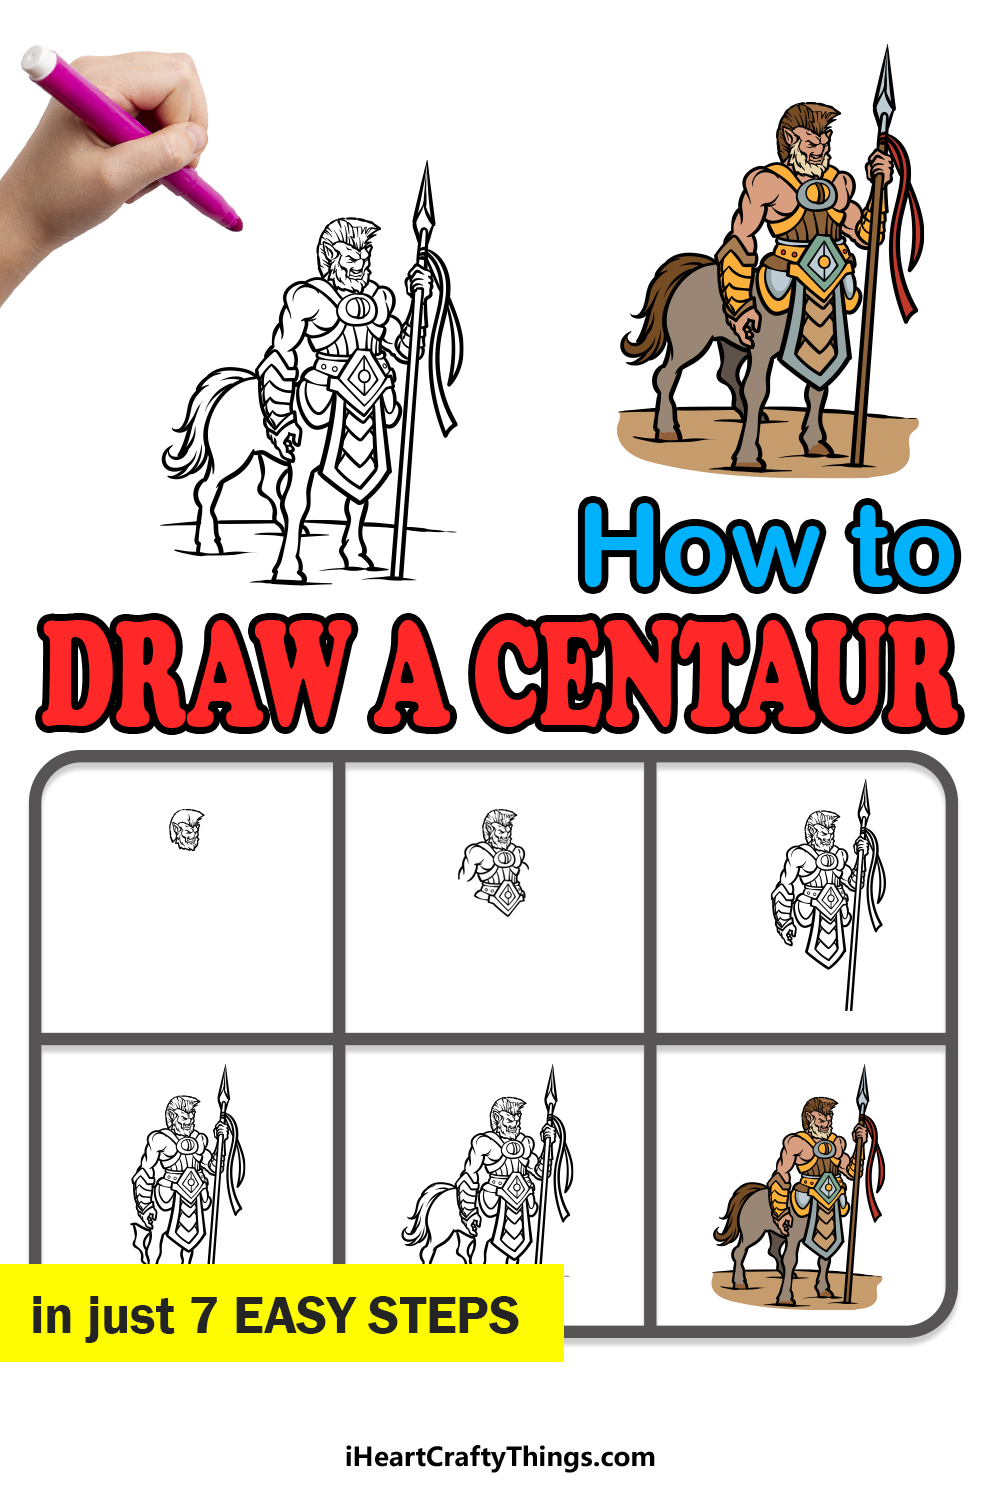
Source: https://iheartcraftythings.com/centaur-drawing.html
0 Response to "How to Draw a Centaur Step by Step Easy Centaur Greek Mythology"
Post a Comment